

QuickPwn OSX Guide
Author: BigBossUpdated November 22, 2008.
Supported iPhone FW for this Guide: 2.0-2.2
OSX users wait no more. Quickpwn is here and it is very easy! Here is your quickpwn OSX download link. Unlockers remember, quickpwn does not activate! Here is a step-by-step guide for the process:
Step 1) Download quickpwn, the correct firmware for your device and put the firmware in your Documents folder. This location is important because quickpwn will automatically find it there. It also works to just restore to 2.2 in iTunes and then start this process. This way the firmware will already be in your search path. Your device must be already running 2.2 before you can proceed.
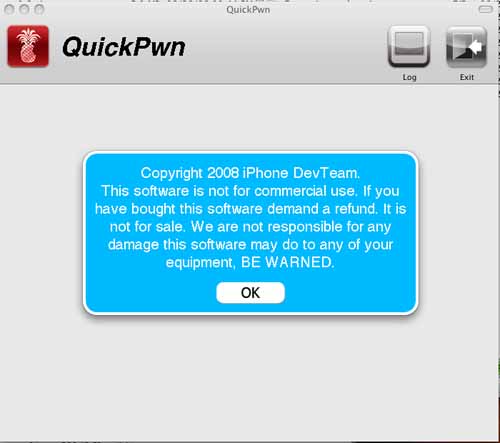
Step 2) Load quickpwn and dismiss the warning.
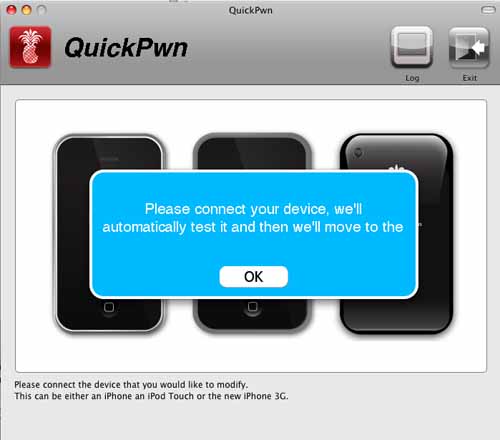
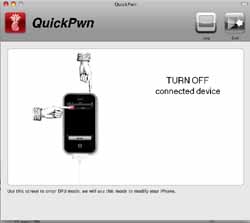
Step 3) The next few steps are all automatic. This means the app will just take over and auto select the next few screens for you. Just connect your iPhone when you see:
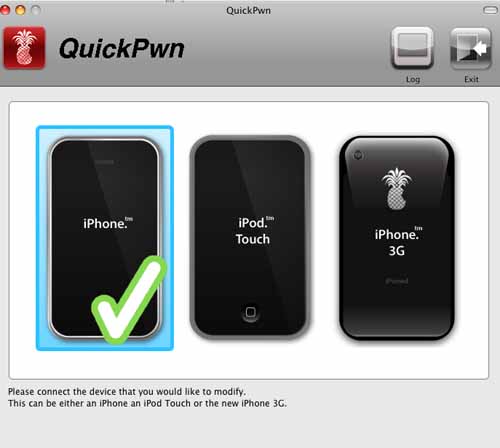
Step 3a) The app will put you here (this is for my 2g). Still nothing for you to do:
Step 3b) Next the app will build the firmware for you: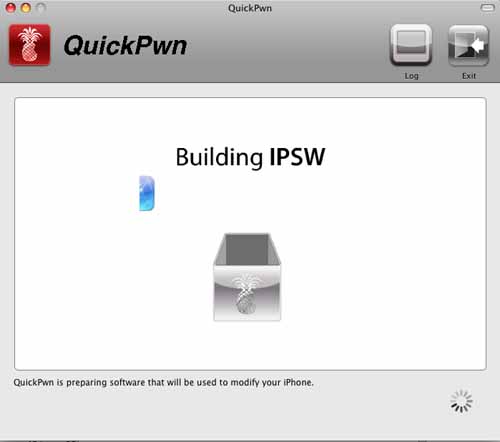
Step 3d) Soon it will request your password. Enter it: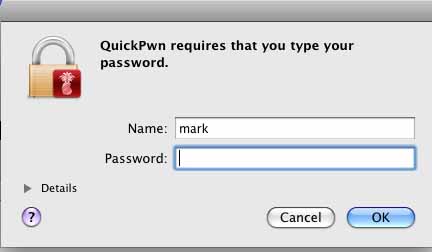
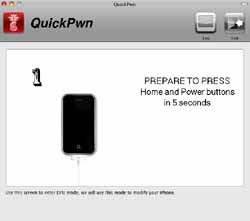
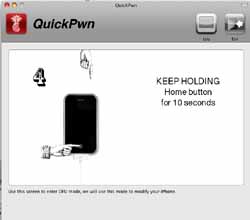
Step 4) Now it’s your turn to do some work. Here you must enter DFU mode. Follow the onscreen prompts:

Step 5) Wait for quickpwn to pwn your device.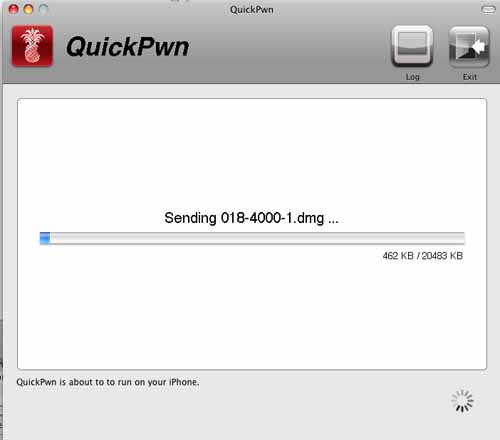
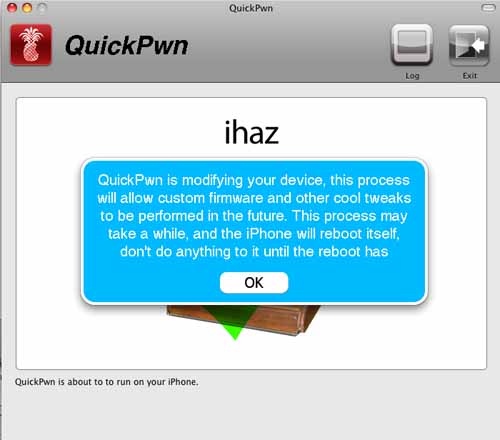
Step 6) At some point, the rest is done on the device and the quickpwn app is finished. You will see this:
Step 6a) And if you click away the message above, you see this: 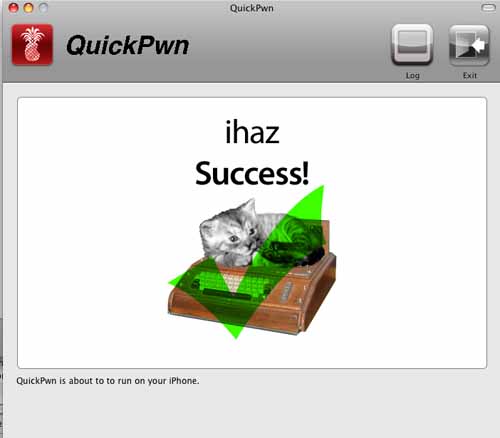
Step 7) Wait for the process on your device and you are done. It could take about 5 more minutes. Your device will reboot when done.