

Quickpwn Windows
Author: BigBoss(Updated November 22nd, 2008 for iPhone 2.2)
Supported iPhone FW for this Guide: 2.0-2.2
For those of you that like quickpwn but want a GUI, there is one now. This is for those that are not planning to restore. Quickpwn now activates and unlocks a 2g so it is a perfect all-in-one solution.
Step 0: This guide assumes you are already running the firmware on your iPhone that you want to jailbreak. If you need to upgrade in iTunes first, please read my upgrade guide. There is very important information here regarding the update process and how to get your content back easily.
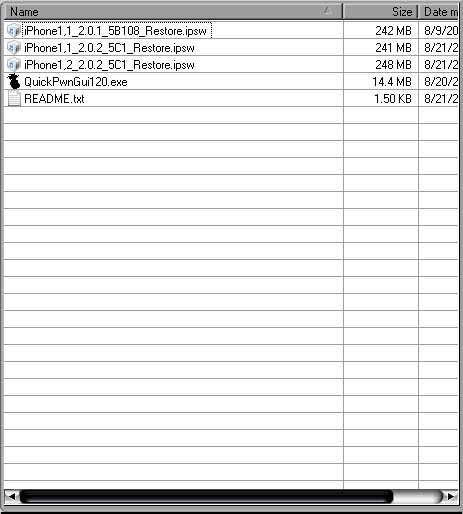
Step 1: Download quickpwn from this link (thanks to theiphoneproject.org) and extract it. For this guide, we will use c:\quickpwn. If you are unlocking a 2g, download bootloaders 3.9 and 4.6 and put them in the same folder.
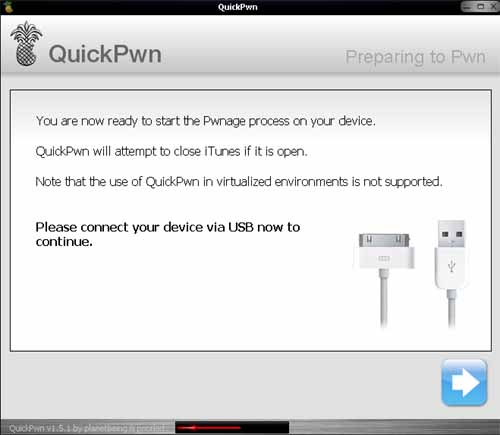
Step 2: Load iTunes and make sure it sees your phone. Leave iTunes running and do not touch it again. For 2.1 & 2.2, you will need iTunes 8 installed. You can get it and any iTunes version here.
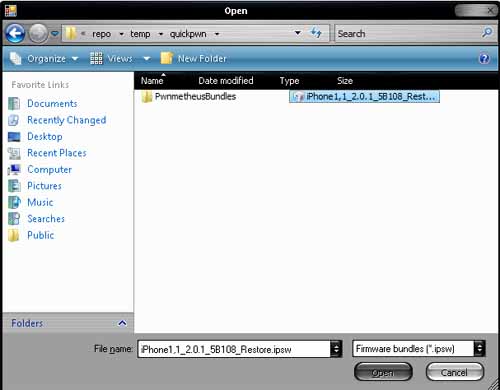
Step 3: Download the proper firmware image (see firmwares page here for firmware of your choice). Save this image in the same folder with the quickpwn.exe file. For our example we will use c:\quickpwn. Your folder should now look like this (with your updated quickpwn exe and proper firmware in it):
Step 4: Launch quickpwn GUI.
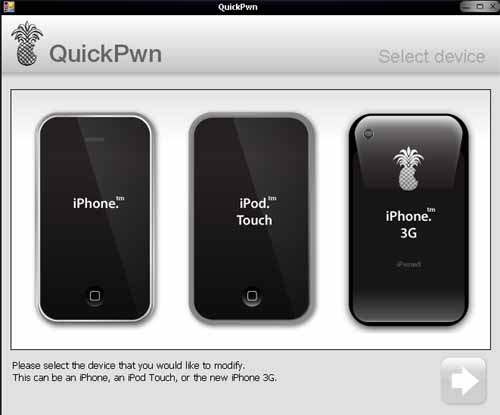
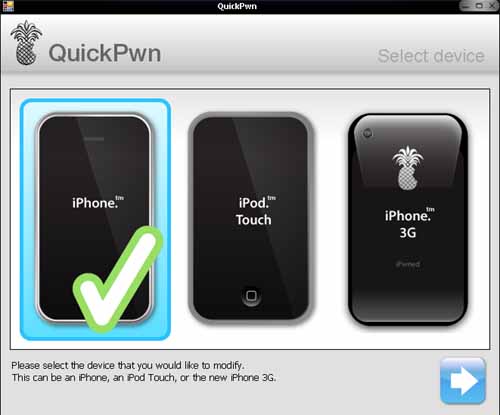
Step 5: Select your device and hit the arrow at the bottom of the window.
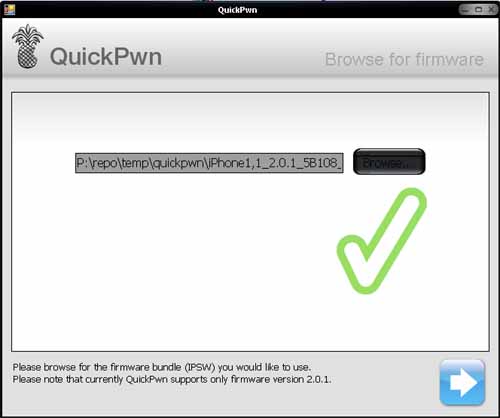
Step 6: Click Browse
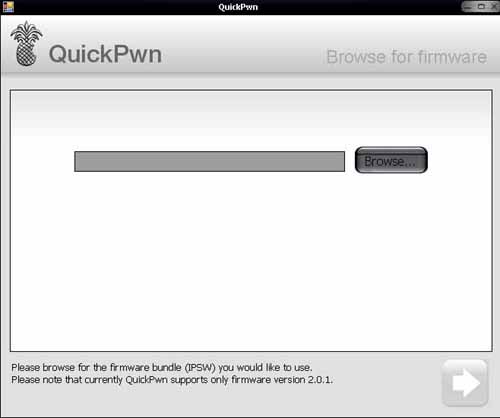
Get to your c:\quickpwn folder and select your firmware.
It should show you this when you are done:
Click the Blue arrow
Step 7: At the next screen, you are prompted to choose Cydia and Installer. Both are selected by default. You must select Cydia or your jailbreak will be useless. Installer is not a replacement for Cydia, is not ready, and has almost no packages. In addition, there is still a huge buglist in installer. In short, choose Cydia. This shouldn’t even be a choice. Select Cydia. Select installer if you want to but don’t forget Cydia. Note, you can also select to replace your bootlogos here if you wish.
If you are not unlocking, skip to step 8.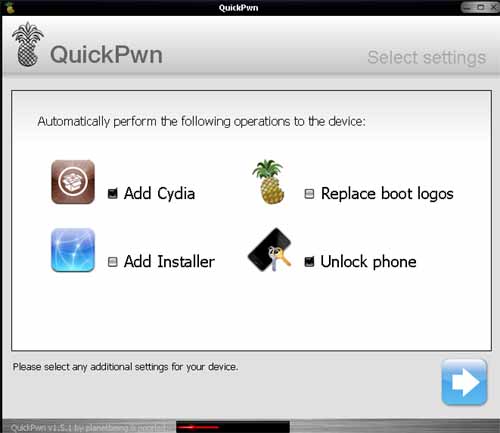
Step 7a: Unlocking only – If you are unlocking your 2g, select “unlock” here as well. If you are already unlocked and just want to activate, still select “unlock” here. (For understanding of unlock vs activate, read this).
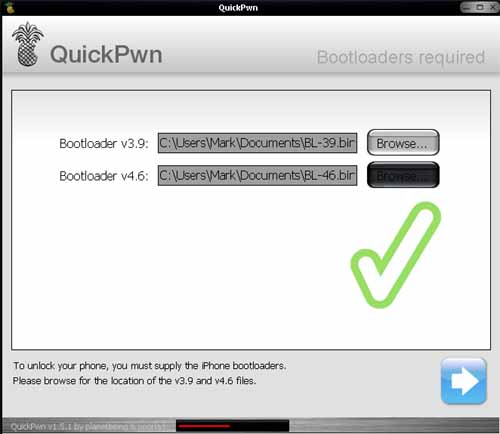
Step 7b: Unlocking only – Select your bootloaders that you downloaded in step #1.
Step 8: Click “Go”
Step 9: The app will put your device into recovery mode. Next, you will follow onscreen instructions to enter DFU mode. Just follow along. There will be a series of button presses at specific times.
Do not take the phone off the PC connection! If you do, you must start over.
Note: If you are being asked “Is your iPhone/iPod connected to your computer via USB” it is because you did not load iTunes and let it see your phone before starting. At this point it’s too late and you must start start back at step 8.
Once you enter the DFU mode, quickpwn just takes over and finishes up.
Wait a bit for the process to finish, and when your device reboots, congratulations! You are done.
Step 10) Optional 2g phone only. If you need to unlock your phone, install bootneuter from Cydia and run it! Select “neuter, unlock, do not change bootloader settings, and then flash!”.